Simple Eye Tutorial
Photoshop eye tutorial – can be done with a mouse, or with a graphics tablet (I did it with the mouse).
As best practice, I recommend working as much as possible in separate layers – it is easier to correct mistakes this way and it’s much easier to customize the final product (e.g. change hue, saturation, create a darker look etc.).
Start with a color base that is a dark grayish shade of red, blue, purple.

Add some highlight in the middle in a slight shape of U and don’t worry if it’s not perfect. If yours ends up too edgy, you can either blur it out using the Blur tool, or by going to Filter – Blur – Gaussian Blur (play around with the values there until you get something you like).
The color of the highlight should be a neutral one – orange, brown, light blue, light purple.

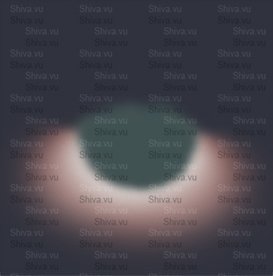
Blur method 1
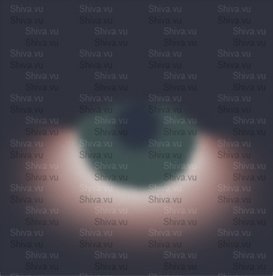
Blur method 2
You should have something like this:

Do the same action, but create a smaller U-shape in the middle – this way we are building depth to have a round-looking shape. Blend using blur if necessary to look smoother.

Add a circle in the middle with the base color of the eye – I erased part of the upper circle (it looks better on IMVU avatars for the eye part to be ~3/4 of its original size with the top part being either erased, or drawn over with the base color of the eye).
The circle doesn’t have to be perfect, as it can look good a bit messier too.
Add the iris circle wherever you want to have it. It’s my personal preference to place it in the middle and make it a medium size (all the eyes I own are pretty much the same style in terms of eye and iris size and placement :D).
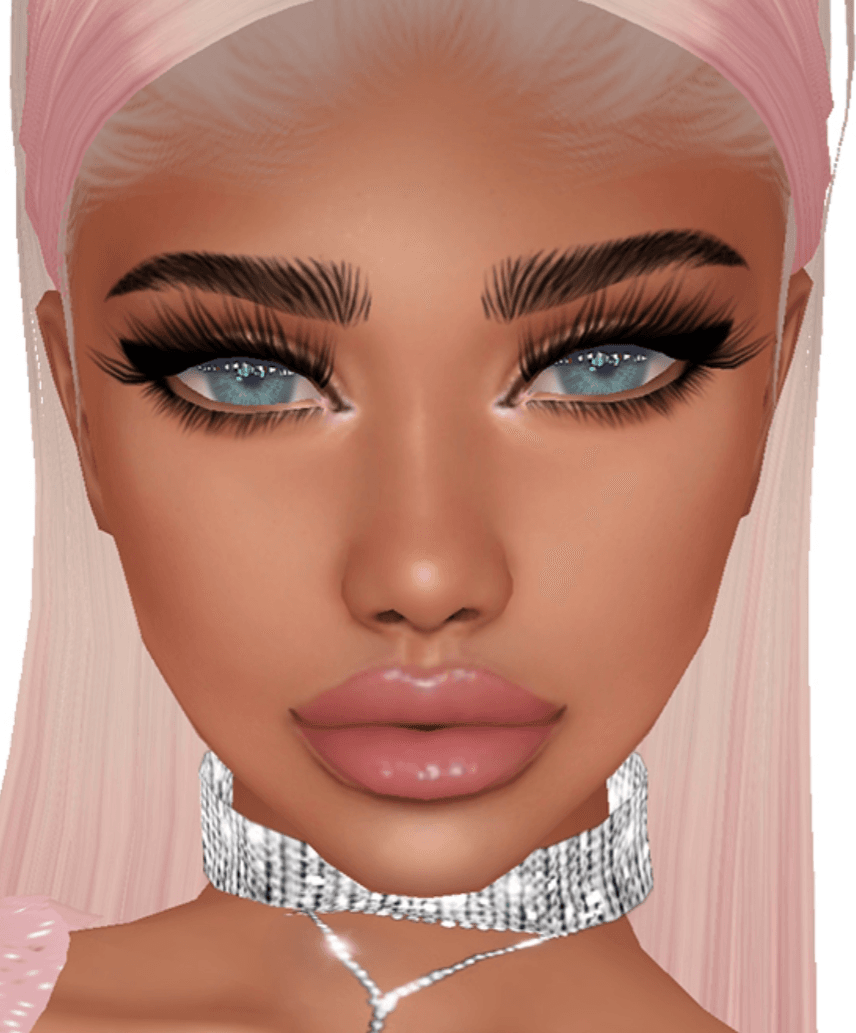
This is best practice for IMVU eyes: cover the upper part of the eyes a bit, make sure around 3/4 parts of the eye can be seen. This is because popular heads make this particular style look really good, plus it is natural looking to have a bit of shadow underneath the upper part of our eyelashes. Since we can’t add shadow like that in IMVU, we have to make the eyes look as if they are under a bit of shadow on the upper part.

I made the eye bigger by adding a darker base underneath it, then blurring it a bit.


I started drawing silly lines in the middle of the eye with a lighter shade. To achieve a flawless look, this is the method I used – Radial Blur, Zoom:

I love this method because it hides the fact that I can’t draw simple lines. People think I’m talented, I’m just hiding my shame through filters. 😀
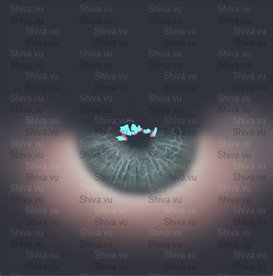
Added more highlights using Radial Blur, then made a new layer and using the exact method above, changed the layer opacity to “Dissolve” and it instantly gave the eye some sparkles in that radial shape.

Created a new layer using the same highlight color and simply drew two lines that look weird and represent nothing:

Added white highlights using the Radial Blur Zoom method. I usually set the layer settings to Overlay or Soft Light. I duplicated the highlights I made, inverted the color, then used the right arrow on my keyboard to shift the layer 2-3 pixels. This gave a lot of depth to the inner part of the eye.

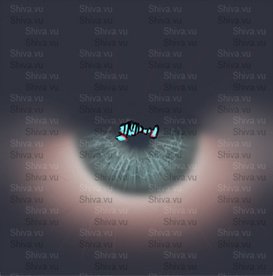
Started adding the shine to the eye – I’ve noticed this trick a while ago when some really creative creators decided to add 3D color to the eye. Normally, the reflection of the eyes has shades of the color of the eye, but it also shares some shades of the surrounding areas – the rest of the eye too, eyes are pretty colorful in reality because they reflect stuff from around them. If you are a talented artist and you are able to see and plan how to use colors in a composition, you will not run into problems when creating eyes. This simple 3D trick to use red and cyan is very easy to implement and it really makes the eyes look much better.
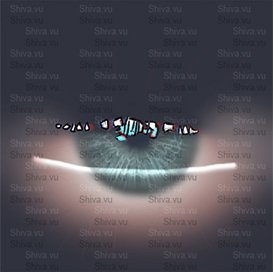
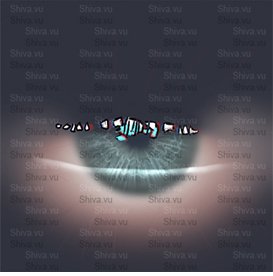
Once you are done with the highlights, use the color of the image background and draw some lines in the highlight area – this will give the illussion of lashes. This is an excellent tip for both male and female eyes because surprise, surprise, everyone has lashes (except for the people who don’t, which probably aren’t that many, so you should still add this lash effect :D).


You can also enhance the shimmer added to the eyes by contouring the highlight part with black.
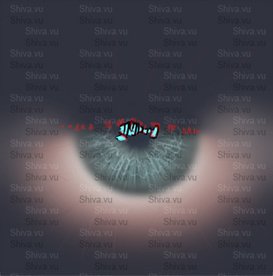
I played around with more shimmer versions because for some reason I just realized now, I like shimmery eyes. It’s light in darkness, a glimmer of hope in an ocean of abyss. I love it.


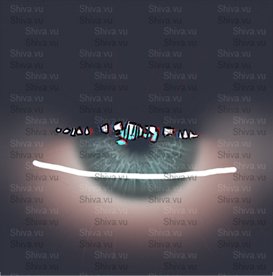
If you want to make eyes that look like they are crying, add your best straight line in the middle of the eye, blur the line and make sure the bottom part of the line is blended/blurred really well. You can then erase the left and right parts of the eye to make it look a bit smoother.
Also, keep in mind that the position of the line for crying-like eyes depends on the head you are wearing. Heads have different eye positions and if you plan on making watery/crying eyes for people to buy, test multiple heads and decide on a line position that would fit most of them.
Hope you had fun reading this! ♥ I made a freebie for people to use – the base of the eye in this tutorial can be found in my Creator Resources.
Happy creating. ♥